Most of the people today live in light congested areas and never will get to experience seeing the core of the milky way with their own eyes. Seeing a blanket of stars over you is borderline therapeutic and a very mystic experience that leaves you questioning if we are alone in this galaxy. If you are fortunate enough to live in a dark area, you understand the sense of power and beauty being able to witness something so amazing. Luckily for us, technology has given us the ability to capture what we see in stunning detail. This is how I go about this process. There is no right or wrong way to do this, this tutorial hopefully will point you in the right direction to employ your own methods =]
Where Do I Find A Place To Shoot?
Finding dark skies free from light pollution is seemingly getting harder and harder. Light pollution is everywhere. Luckily there are tools you can use to find them! Breath taking Images of the Milky Way come from areas where there is virtually zero light pollution. http://darksitefinder.com/maps/world.html This is an amazing resource that can tell you exactly where you need to go. You can still capture the milky-way as it rises in light polluted areas, it just doesn't look as great as areas that don't have light pollution. I like shooting it over an ocean facing south, there is usually no light pollution over the ocean.
When Is The Best Time To Shoot?
Depending on where you live and what time of the year it is, will dictate where the core of the Milky Way rises. I highly recommend this app: https://itunes.apple.com/ca/app/skyview-free-explore-universe/id413936865?mt=8
The best part about Sky View is you can change the time and date to a future date. You can go to your location during the day, hold your phone up and select the time and date as anytime you want, and see where the core will rise.
Typically in North America, the milkyway season is April-November. The core rises in the south east and sets in the North West. As the season begins, the milky way starts to rise around 4am just before the sun then slowly fades away as the sun rises. As the season advances, it gradually rises earlier at 3am, then 2am, then eventually it is rising as soon as the sun goes down at 5pm. The season for North America ends in November because when the core of the Milky Way is in the sky, so is the sun.
The best time of the month to shoot the core is when the moon is not visible. Moonlight will kill a Milk Way shot fast. Pay attention to the moon phase and obviously weather, although catching lightning and the core of the Milky Way can be an amazing photo.
Your Camera
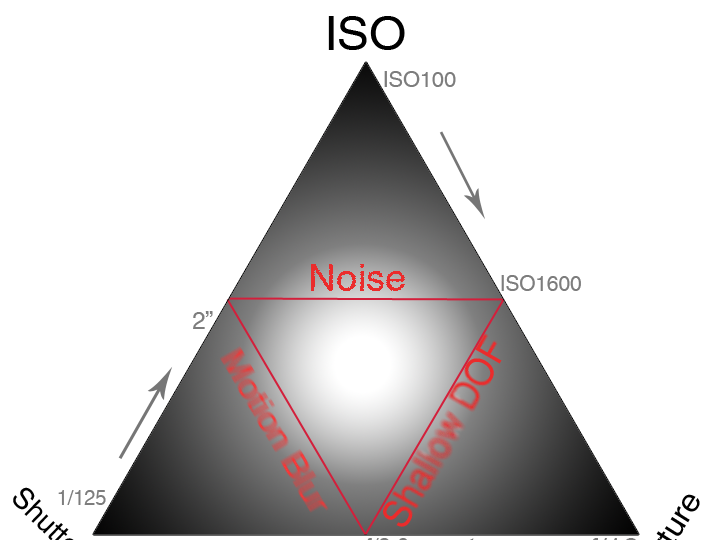
To get started, we need to make sure we have a DSLR that is capable of going to an ISO at a minimum of 3200 without introducing noise. Full frame sensors do the best at this - you can, however still photograph the milky way on a crop body camera, it just won't come out as clean. The earth spins, and the key is to keep the shutter speed as short as possible so your stars in the milky way are as sharp as possible. This is possible by using a higher ISO, typically noise free.
Your Lens
A wide angle lens is critical due to the fact the galaxy expands across the whole sky. Ideally, you want something from 10-30mm. The Rokinon 14mm f2.8 lens is a great budget lens to shoot the galaxy and it will yield amazing results. Most kit lens will work as well, you don't have to invest in a special lens to get great shots of the Milky Way. Just make sure it is wide and can go as wide as at least f4.
Your Tripod
It is very very very important to have a sturdy tripod- every photographer should have a great tripod anyway ;] One where a gust of wind won't mess your photo up. When you are doing a 20-30 second exposure, your camera is extremely sensitive to movement. One small gust of wind or nudge to the tripod will cause the whole image to go soft. Get you a great tripod that is firmly planted on the ground. Make sure the head can swivel up to aim your camera at the sky as well.
Remote Shutter
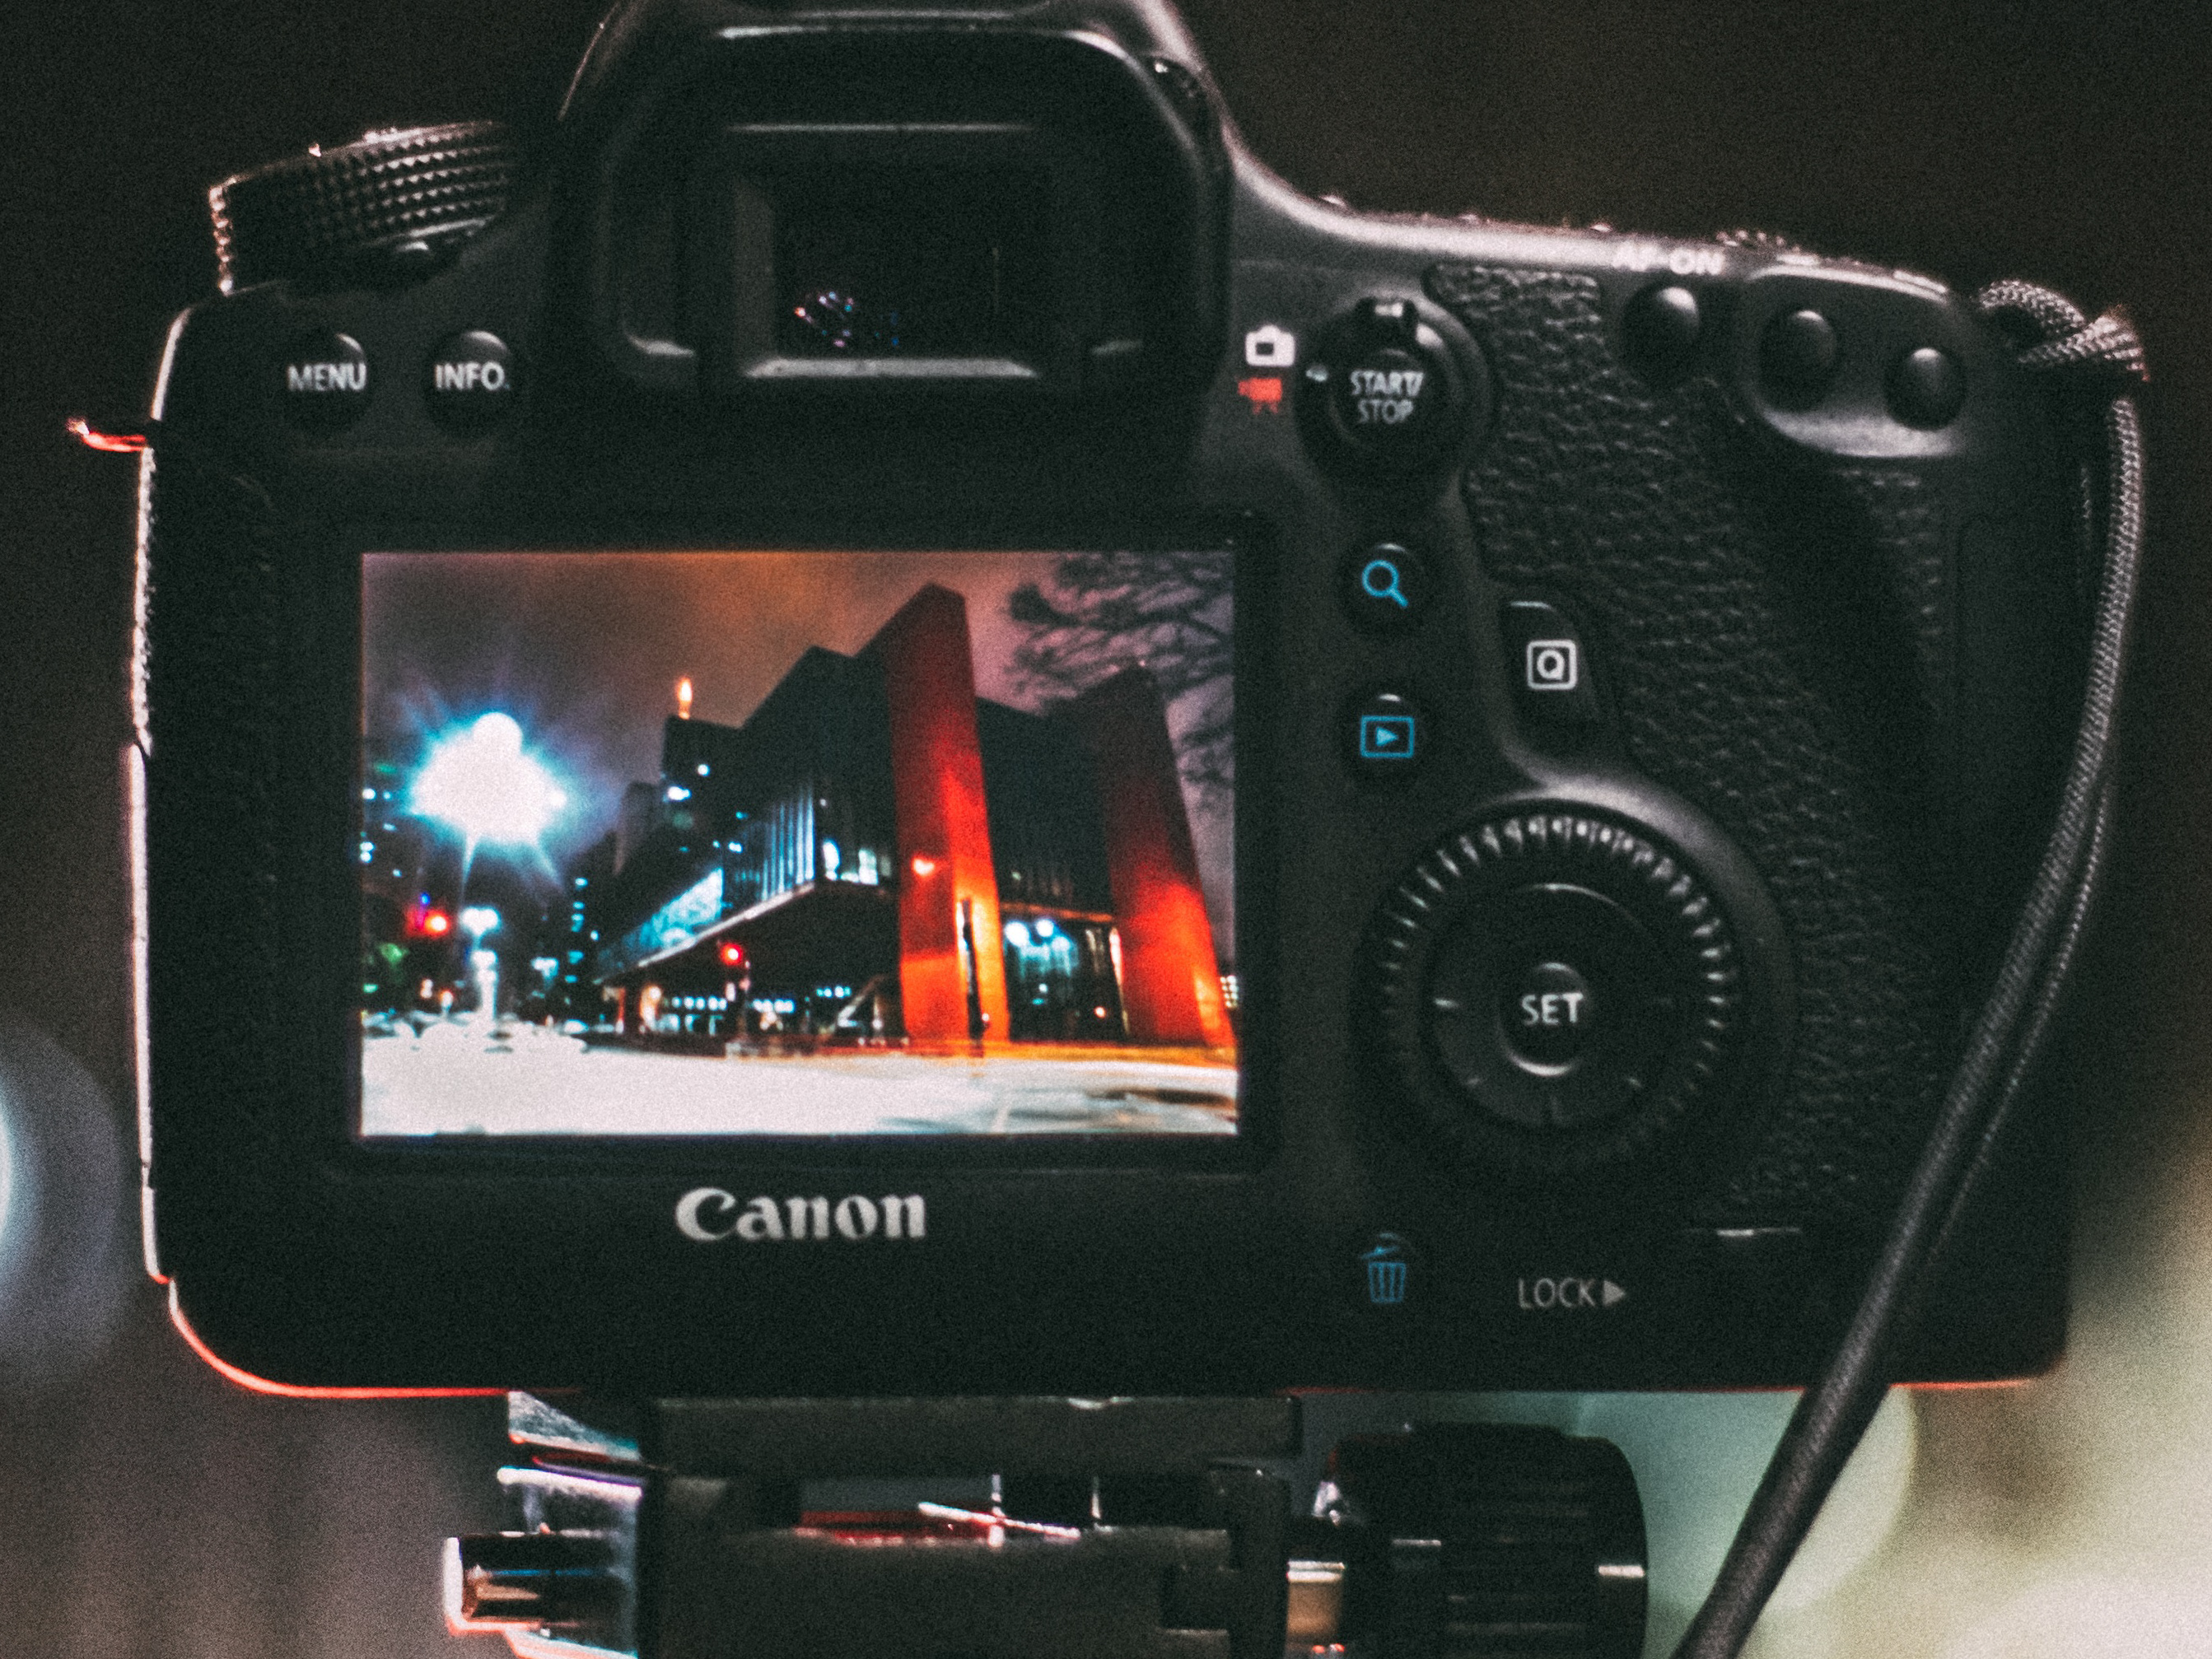
When doing long exposures - any shake, jerk, or movement to the camera will make the image go soft, even hitting the button that takes the image. When you press the image button, the whole camera shakes. You can prove this by taking you camera, zooming in at 100% on the LCD screen, and barley touch the camera. Watch how much the image on your LCD screen moves. We can fix this by either
A) Using a remote shutter or
B) Using the timer on your camera
I personally like to use the 10 second timer on my camera because it doesn't require purchasing extra gear; however the remote shutter works just as well, and you can use your bulb mode to get exposures longer than 30 seconds with it without even touching the camera. You hold the shutter button down on your remote, and let go of it when you want the shutter to close.
When you use the 10 second timer, it gives your camera a chance to level out and stop vibrating after you push the shutter button. Remote shutter controls are inexpensive on Ebay and Amazon, and you can even get them now a days with built in intervalometer to help you accomplish a time lapse.
When you use the 10 second timer, it gives your camera a chance to level out and stop vibrating after you push the shutter button. Remote shutter controls are inexpensive on Ebay and Amazon, and you can even get them now a days with built in intervalometer to help you accomplish a time lapse.
Taking The Shot
Now that you are set up, camera is on a sturdy tripod, lens is ready to go, galactic core is right in front of your lens.. What next?
Make sure you are shooting RAW and in M (Milky Way Mode)
Make sure you are shooting RAW and in M (Milky Way Mode)
Open your aperture up a little, let it breath. Wide open. f2.8 or whatever your maximum aperture is.
Use the live view screen, zoom in to 100% on a star. Use a manual focus adjustment on your lens to put that star into focus and make it tack sharp.
Next, we need to get the shutter speed right. General rule of thumb is, keep your shutter speed under 25 seconds. This keeps star trails down. When you get over 25 seconds, your stars start to move on you.
Take a practice shot.
If its too dark, raise the ISO.
If it is too bright, speed the shutter speed up to 1/20
The best part, is experimenting around. There is no right or wrong way to do this, this tutorial should guide you in the right direction =]
